Locations typically describe the facilities in your organization (High School, Middle School, etc.).
For organizations that have multiple campuses or sites, each with multiple facilities on them, you may decide to use Locations to describe the campus. Then you can use Buildings to describe the structures on each campus.
How to Add Locations
-
Click on the Add link in the Actions menu at the top of the page.
-
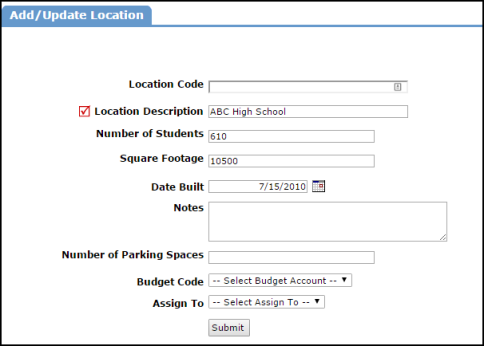
Click the Locations link. Fill in the following fields on the Add Location Screen:
-
The Location Code is only used for database information and will not appear on any other screens. If you do not enter a Location Code, the system will generate one for you.
-
Enter the Location Description (the name of the facility or campus). *Required field
-
The Number of Students, Square Footage, Date Built, Notes, and the Number of Parking Spaces are not required fields. This information can be added at any time.
-
If you are using Budget Codes, you can assign one to a Location by selecting it here.
-
The Assign To field is typically not used, but you are able to assign a Site Administrator to a specific Location so their name will always display on the calendar for events at that Location.
- Click Submit to add the Location.
-
How to View and Activate Locations
-
Click on the List link under the Actions menu.
-
Click on the Locations link.
The Location list is automatically populated if other Dude Solutions applications are in use by your organization. Locations with a yellow thumbs-up ( ) are active and ready for use within the application. Locations with a gray thumbs-down (
 ) are inactive and will be unavailable for use until they are activated.
-
To activate a location, click on the thumbs-down icon (
). It will change to the yellow thumbs-up icon and your location will be activated.

